The Best Open-source Media Player to Integrate With Your Angular Apps
Set up the Shaka Player in your Angular application

Recently, at my company, we started using Shaka Player in our web apps for playing media.
Shaka Player is an excellent open-source JavaScript library from Google. It plays DASH and HLS without using any browser plugins. This works by using the standard MediaSource Extensions and Encrypted Media Extensions.
We had some experience with Shaka Player but did not use it in our production apps. Although the documentation of Shaka Player is excellent, there was no documentation on how to integrate the Shaka Player Library into Angular.
As we succeeded in integrating Shaka Player into our Angular apps, this article describes in detail how we did it.
We switched from Azure Media Player to Shaka Player because we switched to a different encoding and packaging solution. Microsoft tightly coupled Azure Media Player to the Azure Media Service Platform, so the packaged media did not correctly play from our new packaging platform.
The source of the Angular app and the Shaka Player Angular component can be found in this Github repository.
How to Get and Compile Shaka Player
There are three ways you can get Shaka Player.
- You can compile it from the source
- You can install it using npm
- You can use google CDN to directly link to it
We are going to compile it from the source. This allows us to switch from release to a debug version if necessary. To compile the library, you have to install the required tools, get the source from GitHub, and run the build script in Python.
I won’t be repeating the complete documentation here, but, in short, it comes down to this:
- Pull the source from Github:
git clone https://github.com/google/shaka-player.git2. Compile the source by running the Python build script
python build/all.p
If all went well, you will have various versions of the library in the dist folder. If not, please check the documentation.
Creating the Angular Demo Application
With the compiled Shaka Player library, we’re ready to implement the Angular application. We will create the application using the latest version of the Angular CLI, v12.0.0 at the time of writing.
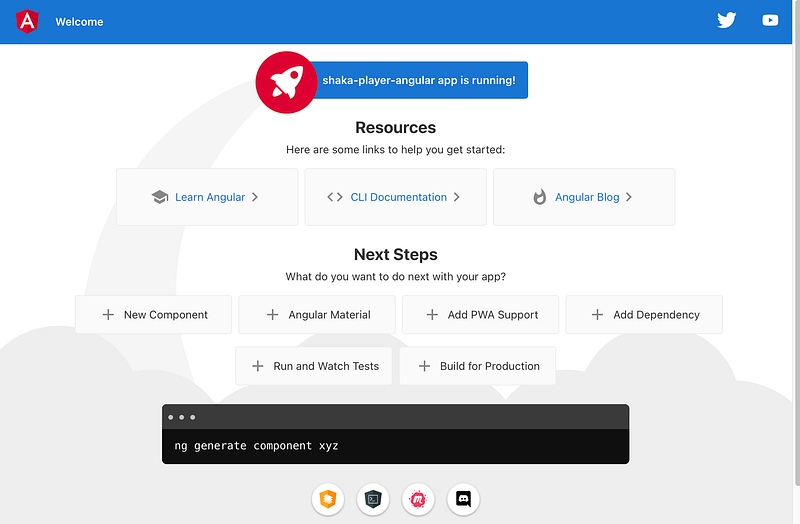
We create the Angular app by executing ng new shaka-player-angular on the command line. I choose No Routing and CSS as options. After generating the app, make sure that it runs correctly by executing ng serve -o on the command line.
If all goes well, a browser should open showing the following screen:
Creating the Shaka Player Angular Component
Now that we have generated the Angular app, we’re going to create the Shaka Player Component. This Angular component is going to contain the video element and the Shaka Player.
We create the component using the Angular CLI by executing the command ng generate component shared/shaka-player on the command line. I used shared because I want the component to fall under the shared folder.
To ensure everything has gone well, go into the shaka-player.component.html file, delete everything in it and replace it with <app-shaka-player></app-shaka-player>. Save the file and start the app again with ng serve -o.
It should give the following result in your browser:
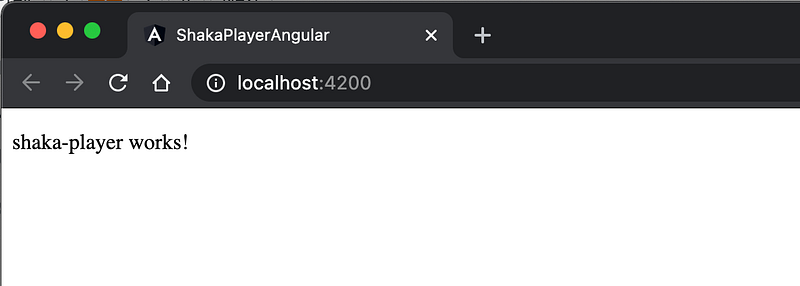
If you see this, you have successfully created the shaka-player component.
Integrate the Compiled Shaka Player Source into Angular
Now for the interesting part: How to integrate the compiled Shaka Player library into the app. Let’s explain it in detail.
Adding the library and style sheet
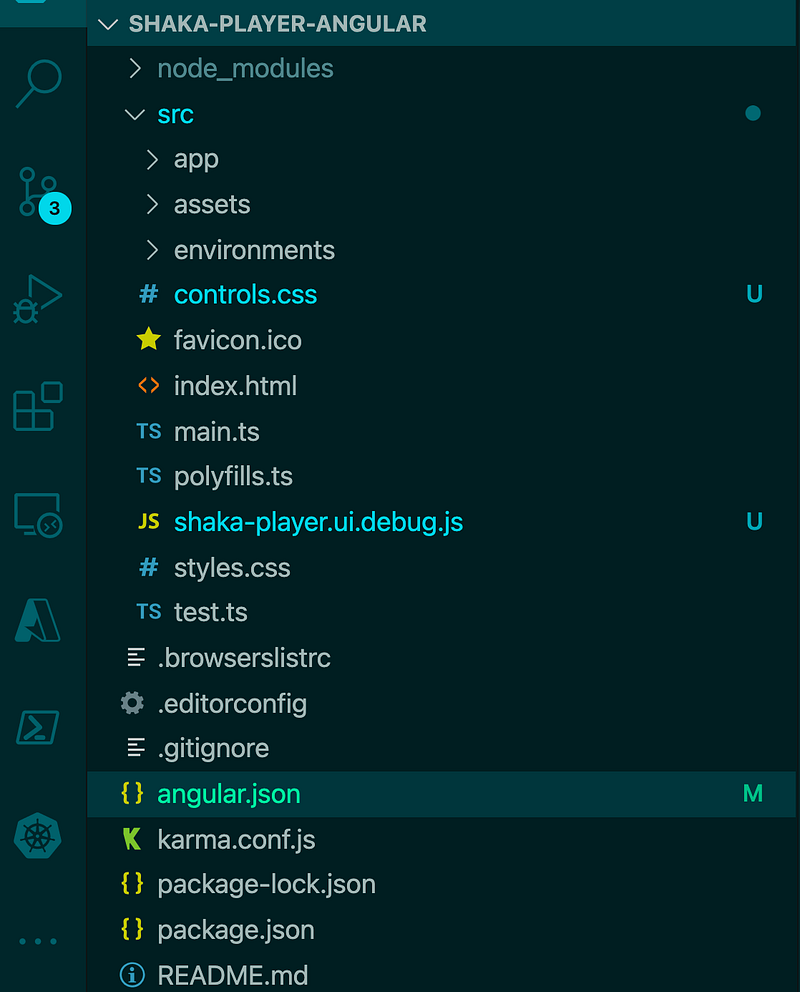
First, we have to copy the compiled files into the Angular app. Go into the dist folder of the shaka-player and copy both shaka-player.ui.debug.js and controls.css to the src folder of the angular app.
Now we have to tell Angular to use this script and stylesheet. We add both files to angular.json. You add “src/controls.css” to the styles array, and “src/shaka-player-ui.debug.js” to the scripts array.
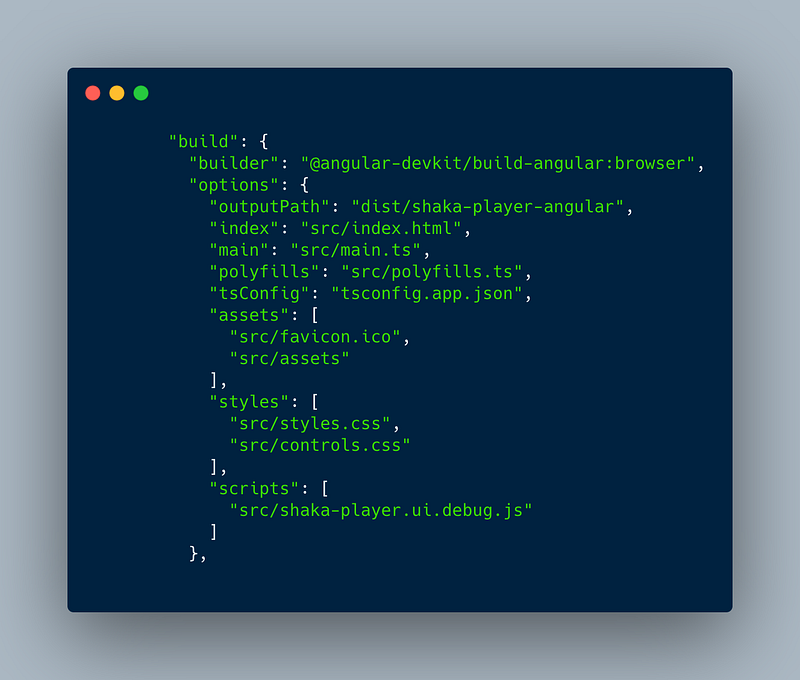
This makes sure that the Shaka Player library and styles are available to the Angular app.
Initialize the player
Before we can use the player, we have to initialize it. We have to change the HTML of the shaka-player component. Remove <p>shaka-player works!</p> from shaka-player-component.html and replace it with the following HTML:
We created a video element wrapped by a div. This is the structure that the UI library of Shaka Player expects. Let’s see how to activate the Shaka player by implementing shaka-player.component.ts:
On rows 10 and 11, we use @ViewChild to query the view using the given selectors. After executing these statements, the videoElementRef contains a reference to the video element, and videoContainerRef includes a reference to the div that wraps the video element.
On row 20, in ngAfterViewInit, we call shaka.polyfill.installAll(). This patches all browser incompatibilities.
Then on row 22 and 23, we get the nativeElement that is hidden inside the ElementRef. We are going to use these to configure the UI in initPlayer(). This method is responsible for configuring the UI and starting playback.
The first thing that happens on row 2 in initPlayer is it created the shaka player. Then, on row 4, it makes the UI overlay by passing in the player, the video container element, and the video element.
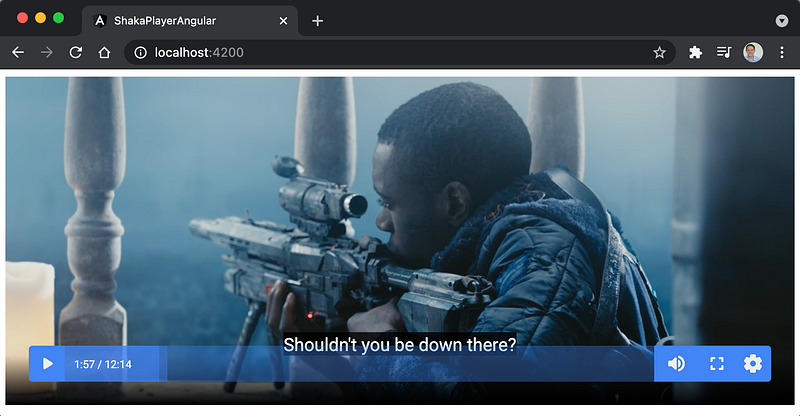
On row 10, we load a MPEG-DASH stream of the movie Tears of Steel, and if it succeeds, it starts playback.
If you start the app again with ng serve -o it should open a browser and start playing the video. You should have several controls to control the playback of the movie such as play, pause, resolution, and volume.

Shaka Player Themes
Amilia Sampath from Sweden created a couple of great themes for Shaka player. We will use the Amsterdam-Acid Blue theme. You can download themes from this page.
When you download the theme, you will get a zip with a JavaScript and CSS file. In our case, we get amsterdam-acid-blue.js and amsterdam-acid-blue.css.
We copy both files to the src folder of the angular app, the same way as we did previously with the shaka player files. Also, we add them to the scripts and styles array in angular.json.
Finally, we add class=”amsterdam-acid-blue” to the video container div element, like so:
When we reload the app, we see that the Amsterdam Acid Blue theme is active

HLS and DASH playback
The movies that we used to test playback use the MPEG-DASH format. This means that if you use Chrome on Windows or macOS, it will play the video correctly.
However, if you play the video on iOS devices or use Safari, the video won’t play. This because Safari on iOS does not support MPEG-DASH — you need a video in HLS format.
Shaka Player supports both DASH and HLS playback. We have to select the correct video based on the platform. We import the Angular Platform module and use it to detect Safari:
Adding and Selecting Subtitles
Shaka player supports subtitles. If the subtitles are embedded inside the DASH or HLS stream, you can use them directly. If you have separate subtitle files you add them with the following source code:
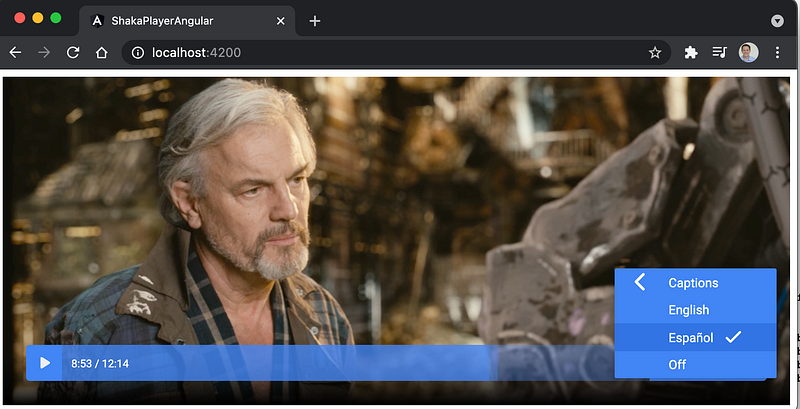
After the video is loaded, we use addTextTrackAsync on row 5 to add the subtitles. On rows 6 to 10, we select the subtitle track. If we don’t, the user has to choose the captions using the captions menu.
You can add multiple subtitle tracks by calling addTextTrackAsync multiple times. The UI automatically adds the subtitle track to the menu, so that the user is able to choose the language of the subtitle.
Digital Rights Management (DRM)
Shaka Player supports the following DRM with DASH and/or HLS streaming.
- Google Widevine: DASH & HLS
- Microsoft PlayReady: DASH
- W3C Clear Key: DASH
- Apple FairPlay Streaming (FPS): HLS
Shaka Player uses Encrypted Media Extensions (EME), which requires a secure URL. So, for testing DRM-protected content, it’s necessary to use HTTPS. If the site is using HTTPS, then the manifest and every segment will also need to use HTTPS. This is because of mixed content requirements.
To specify the license server URL for Widevine or PlayReady, we use the following code. Depending on the browser, we configure Apple Fairplay or Google Widevine.
The Fairplay license server is configured on row 8. The Widevine license server is configured on row 21. You just have to insert the URL of your Widevine or Fairplay license server.
Conclusion
We successfully moved from Azure Media Player to Shaka Player for our media solutions. The fact that Shaka Player is open source has been a great help.
Shaka Player includes excellent documentation and has a vibrant community that is always happy to help. You can play MPEG-DASH and HLS streams with or without DRM. Shaka Player supports subtitles and multi-language audio.
We integrated Shaka Player into our Angular apps. I submitted the source code via a PR to the official Shaka Player Github repository as an example that shows how to integrate Shaka Player into an Angular application.
Suppose you have an Angular application and search for a way to integrate media. You should check out Shaka Player. The example in this Github repository should give you a good start.
Thank you for reading.


